This was the first shot i took with the new film. It was taken indoors by the window and then placed on top of a heater. It's really crazy how sensitive this new film is to light and heat.
ALWAYS ALWAY ALWAYS shield your film upon ejection and heat it up if you want those warm colours to pop :)
pepsi & coke <3
they say about 5 minutes of development time... but i like to keep mine in the dark and heat for like 10 minutes.
With The Impossible Projects new film: PX100 and PX70 film. They are SUPER sensitive to light, so you have to be quick on your feet to shield your photos from light immediately when they eject from the camera.
The main two methods I have been using are:
Darkslide: I liked this method because it wasn't cumbersome but it didn't offer complete protection from light.
Box: Shooting into a box worked really well, but it was a hassle having a box around at all times when you were shooting, and it felt awkward attached to my SX-70.
SO here is what I use now and it works pretty well and is also easy to carry around!
It's basically 2 pieces of black paper taped together with the top open. It attaches on the front of my SX-70 with a small clip and 2 slits are cut on the back so it can fit over the bottom of the camera better, allowing the film to eject properly into the sleeve.
Also a unique feature about this sleeve is that there is a cut-out on the bottom that will allow you to slide out the film into the sleeve. One of the big reasons why the previous methods of shielding film for me didn't work was because the film doesnt eject out all the way! Which made it very awkward to slide the film out of the camera and into the darkslide/box etc. Now after my film ejects, it is evenly protected from light :D and I can remove the sleeve and fold up my SX-70 and be on my way!
The sleeve also allows you to quickly move the film into a different temperature environment quicker too. If you want to heat up your film under your armpit or on top of a furnace... etc.
Enjoy my instructions on how to make this simple but effective Light Shield for your SX-70
So i finally got around to print some pics with the POGO printer I ordered from the Impossible Project. Overall the quality leaves a lot to be desired but i guess i can't expect too much from it. The novelty of it being so small and "instant" is pretty awesome, but that quickly wore off when I found out it doesn't print from my iPhone :(
Battery life isn't so great either. If you are lucky you will get one full pack of zink photo's(10) out before you need to charge again. To solve my iPhone disability, i use the Dropbox app on my iPhone to send it to my Mac and then just print from the Mac's bluetooth. When you set up, make sure you enter the code '6000' in order for your Pogo to connect to your bluetooth.
weird big line running down the side
All these photos were originally taken on my iPhone and they do get cropped a bit when you print them out, so take that into account.
Don't you just love it when your packages arrive at your door when you least expect it? Today I got some new PX70 PUSH film from the Impossible Project and also their special HUGE edition bundle. I was skeptical about buying the PUSH film because of the tendency of it shifting to blue, but after seeing some great examples of the film being used in the community, I thought I would give it a try :)
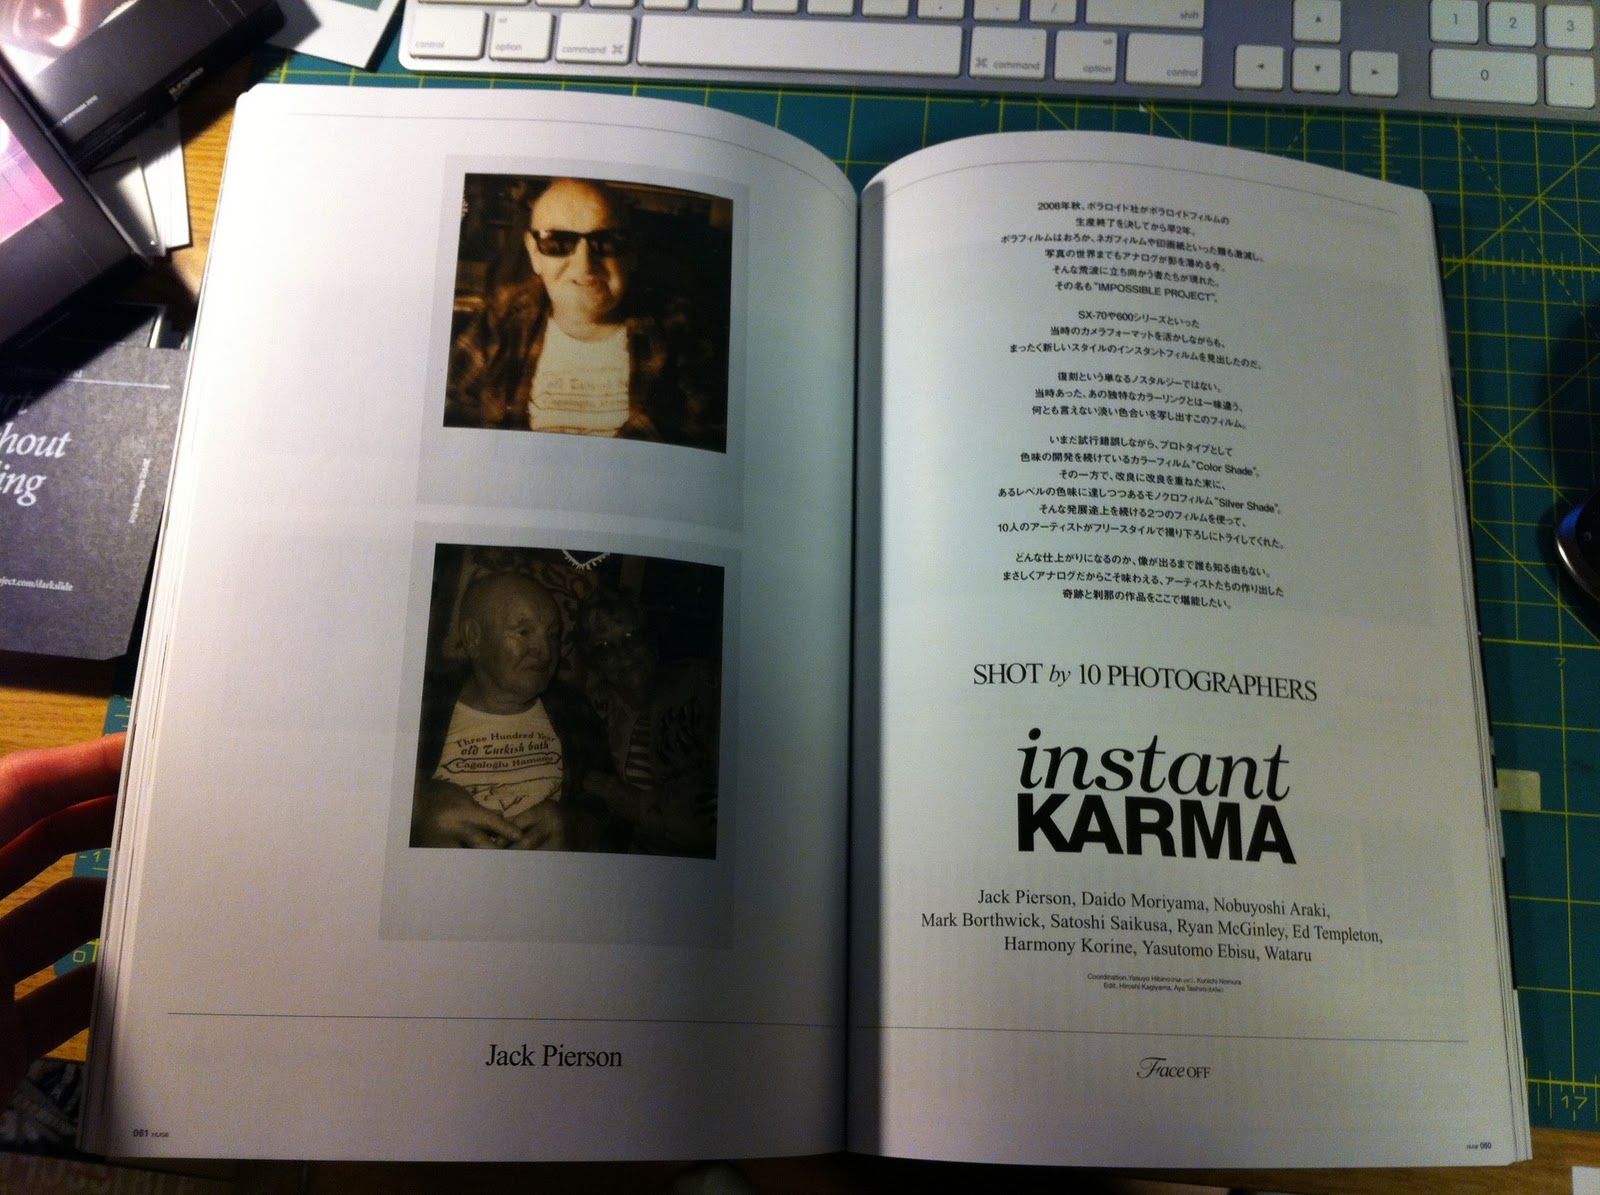
Unfortunately the entire magazine is in Japanese but visually it is a great magazine to look at and to just appreciate the design and layout. I wish i knew Japanese!
So here is the video of my unboxing as well as some photos of everything that was included in the special package!
HOWEVER i am missing one pack of paper... which i am not very pleased about! WHERE IS IT!!?
Everything out of the box all nicely laid out.
POGO Close up
I havent tested it out yet, but that will be soon. More to come.
So this morning my package from the Impossible Project came! I got my hands on one of their special editions POGO printer packages :D Here are some pics, i will upload an un-boxing video and a more detailed review later on! Right off the bat, the packaging is pretty simple and sleek.
The contents: x1 Moleskine, x1 POGO printer, x2 POGO paper